Comment Activer Le Scan Sur Samsung
Okay, so picture this: I’m frantically searching for a document I swear I filed away. Turns out, it was hiding under a pile of…well, let’s just say my organizational skills are still a work in progress. I needed to email it ASAP, and the nearest scanner was, shall we say, geographically undesirable. That's when I remembered my trusty Samsung phone! "Eureka!" I thought (yes, I actually thought "Eureka!"). It had to have a scan function, right? Turns out, it did. And now, I'm here to save you from similar document-related meltdowns. Because let's be honest, we've all been there.
Scanning with Your Samsung: It's Easier Than You Think (Promise!)
The good news is, Samsung has made scanning documents pretty darn straightforward. There are a couple of ways to do it, so let's dive in. Ready? Let’s go! (And no, you don’t need a PhD in technology, I promise.)
Method 1: Using the Built-in Camera Scanner (The Secret Weapon!)
This is my preferred method because it’s super quick and easy. And who doesn't love quick and easy? Did you know, your Samsung phone probably has a hidden scanning function built right into the camera app? It’s true!
Must Read
Here’s how to unleash its power:
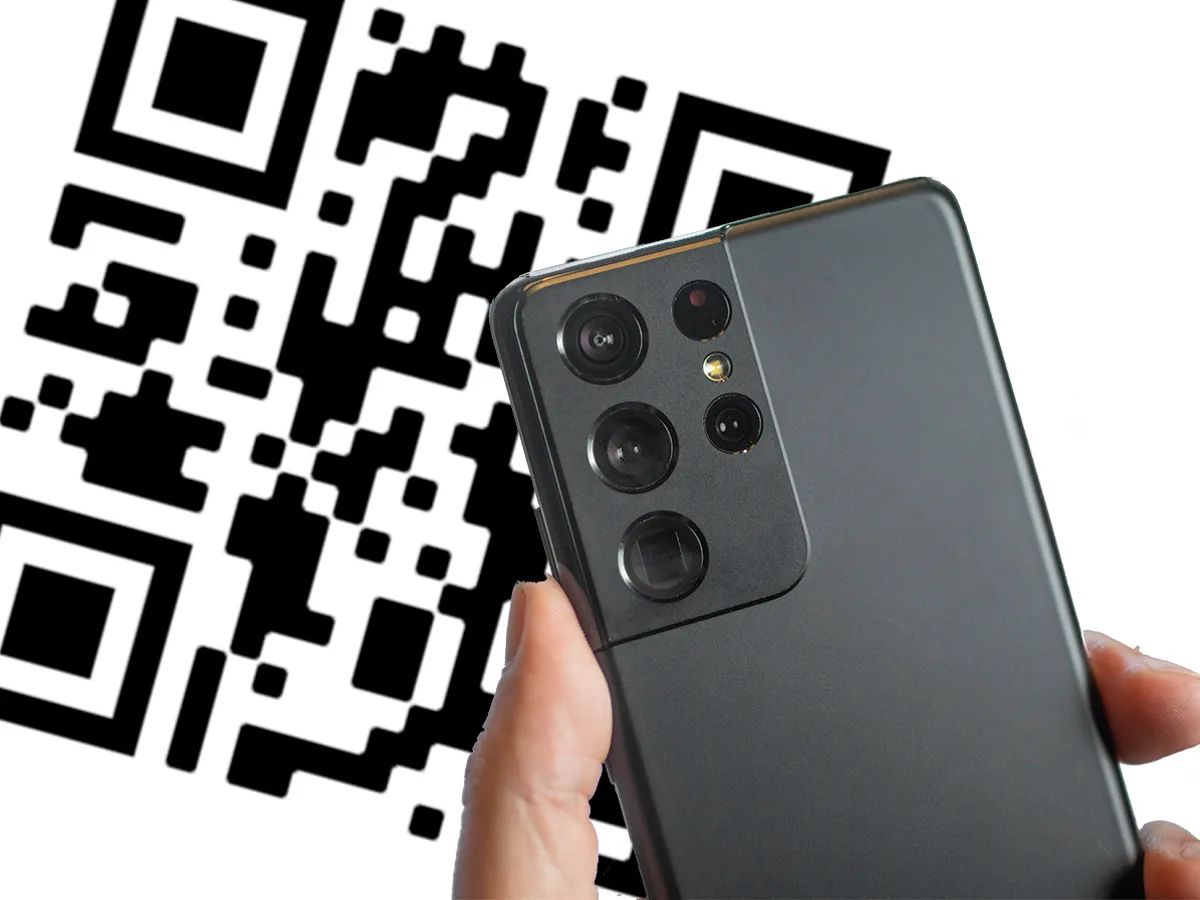
- Open your Camera app.
- Point it at the document you want to scan. Try to get good lighting. No one wants a blurry scan!
- Wait for the magic to happen! Your phone should automatically detect the document and a little "Scan" button should appear. If it doesn't, don't panic! Try adjusting the angle or the lighting.
- Tap the "Scan" button.
- Adjust the corners of the highlighted area to accurately crop the document. Because nobody wants extra table cloth in their scan, right?
- Tap "Save." You can also choose to save it as a PDF or an image file. I usually go with PDF. It just feels more…official.
Ta-da! You have a scanned document! Wasn't that surprisingly painless?
:max_bytes(150000):strip_icc()/A5-ScanaQRCodeonSamsung-annotated-7b2f975f15f74672ad10130be62c5020.jpg)
Method 2: Using the Samsung Notes App (For the Organized Souls!)
If you're already a Samsung Notes user (and if you're not, you should be!), you can scan directly into a note. This is great for keeping everything organized and in one place. Plus, it's perfect for those of us who try to be organized, even if our desks tell a different story.
Here's the lowdown:
:max_bytes(150000):strip_icc()/D4-ScanaQRCodeonSamsung-annotated-d338519552e641d08dab927928d74d27.jpg)
- Open the Samsung Notes app.
- Create a new note (or open an existing one).
- Tap the Attach icon (usually a paperclip or a little attachment symbol).
- Select "Scan."
- Follow the on-screen instructions to scan your document. Basically, point, shoot, and adjust. You know the drill!
- Once you're happy with the scan, tap "Done." You can then add text or annotations to your note. Because why not add some doodles to that important document? (Just kidding… mostly.)
Bonus Tip: Third-Party Apps (When Samsung Isn't Enough)
While the built-in scanner is usually sufficient, there are tons of third-party scanning apps available on the Google Play Store. Apps like Adobe Scan or Microsoft Lens offer additional features like OCR (Optical Character Recognition), which can convert your scanned document into editable text. So, if you’re feeling fancy and want to get really serious about scanning, those are good options. But honestly, for most everyday scanning needs, the Samsung camera or Notes app will do the trick just fine.
So there you have it! Scanning documents with your Samsung phone is no longer a mystery. Now go forth and conquer your paperwork! And remember, if you're feeling overwhelmed, just take a deep breath and remember my anecdote. You're not alone in your document-wrangling struggles!
:max_bytes(150000):strip_icc()/C4-ScanaQRCodeonSamsung-annotated-02bdcfc4f66a41dba6c9807ef436987c.jpg)
:max_bytes(150000):strip_icc()/A3-ScanaQRCodeonSamsung-annotated-4d5668680ea842dd88d7b63547c53492.jpg)