Comment Créée Une Page De Garde Sur Word

Okay, confession time. I once submitted a university paper with… let’s just say a minimalist cover page. Think Times New Roman, size 12, title in the top left corner. My professor's face? Priceless. (And not in a good way). Learned my lesson that day! Which brings us to the pressing issue: creating a killer cover page in Word. Parce que, soyons honnêtes, la première impression compte!
So, you've got this amazing document, right? Research impeccable, arguments solid, but… the cover page looks like it was designed by a bored intern (no offense to bored interns!). Don't let that happen! Let’s dive into how to avoid cover page catastrophe and create something that screams "I'm a professional, and I know what I'm doing!"
Using Word's Built-In Templates
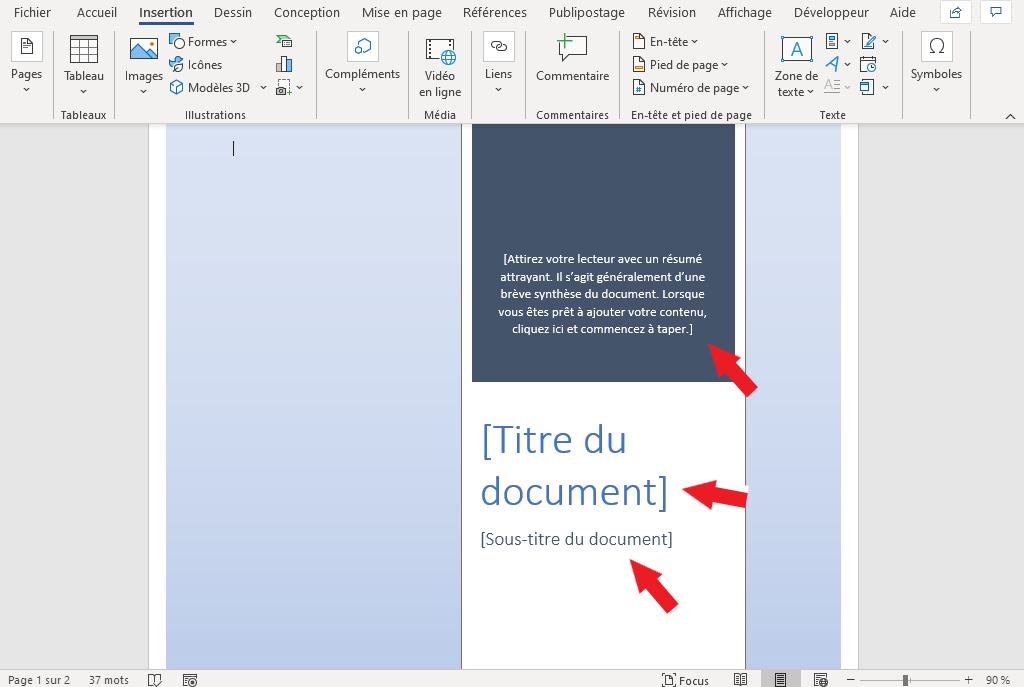
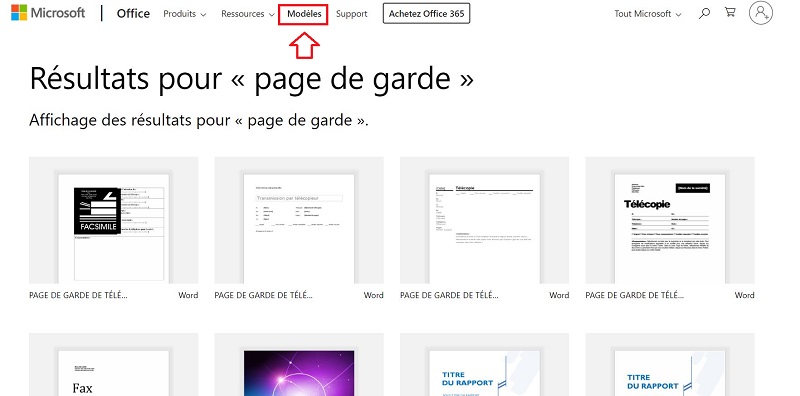
The easiest route? Word’s own templates. Seriously, they're a lifesaver. Just go to Insert > Cover Page and boom! A whole selection of pre-designed options pops up.
Must Read
Choose wisely, jeune padawan! Not all templates are created equal. Some are… well, let’s just say they're better suited for a grade school project than a master's thesis. Pick something clean, professional, and relevant to your document’s content. You don't want a floral design on your report about nuclear physics, n'est-ce pas?
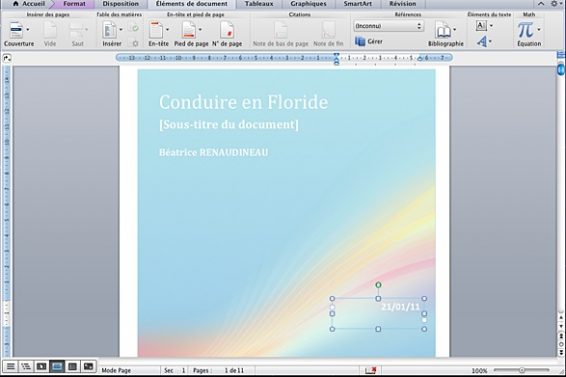
Once you've chosen a template, simply click on the placeholders and replace them with your own information: title, subtitle, author, date, etc. Easy peasy, lemon squeezy. But don't just stop there! Customization is key!

Customizing Your Cover Page
Okay, so maybe the pre-made templates aren't exactly what you're looking for. Pas de problème! You can totally tweak them or even create your own from scratch. Here's where things get fun (and slightly addictive).
Want to change the colors? Click on the Design tab and play around with the Themes and Colors options. Experiment! Find a palette that complements your document and reflects its tone.
Need to add your university logo or a relevant image? Insert > Pictures is your best friend. Just make sure the image is high-resolution and doesn’t look pixelated. Nobody wants a blurry logo representing their hard work. And please, no clip art! We're striving for professionalism here, remember?
Want to adjust the layout? Click on the Layout tab and use the Margin and Orientation options. You can also insert shapes and text boxes to create a more custom design. But remember the golden rule: keep it simple! A cluttered cover page is just as bad as a blank one.
Important Elements to Include
Regardless of whether you use a template or create your own, make sure your cover page includes these essential elements:
- Title of the document: This should be clear, concise, and easy to read.
- Your name: Obvious, but crucial.
- Date: Unless your professor specifically asks for it to be omitted, always include the date of submission.
- Course name and/or professor's name: Depending on the assignment, this information may be required.
- Any relevant institutional logos: Use wisely, and make sure you have permission to use them!
Ultimately, your cover page should be a reflection of your work. It's the first thing your reader will see, so make it count! With a little effort and attention to detail, you can create a cover page that’s both professional and visually appealing. And who knows, maybe you’ll even impress your professor this time around. (I know I tried!). Good luck, et bon courage!