Fabriquer Une Moustiquaire Pour Fenêtre Cintrée

Okay, confession time. Last summer, I thought I was being all fancy, leaving my arched window open all night. Fresh air, the scent of honeysuckle... romantic, right? Wrong. Woke up looking like I'd lost a fight with a swarm of mosquitoes. Turns out, they weren't appreciating my "au naturel" approach to window ventilation. So, yeah, lesson learned: even if your window is shaped like it belongs in a fairytale, you still need a mosquito net. And that's how my obsession with making my own arched window screen began.
The problem? Store-bought arched screens are rarer than a polite Parisian taxi driver. And custom-made ones? Let's just say my budget wouldn't stretch quite that far. So, DIY to the rescue! (Because, let's be honest, who doesn't love a good DIY project?)
The Quest Begins: Gathering Your Arsenal
First things first, you need supplies. Think of it like prepping for battle... against insects. Here's the essential gear:
Must Read
- Measuring tape: Absolutely crucial. Measure your arched window carefully. Twice, even. Seriously. Don't be like me and have to redo everything.
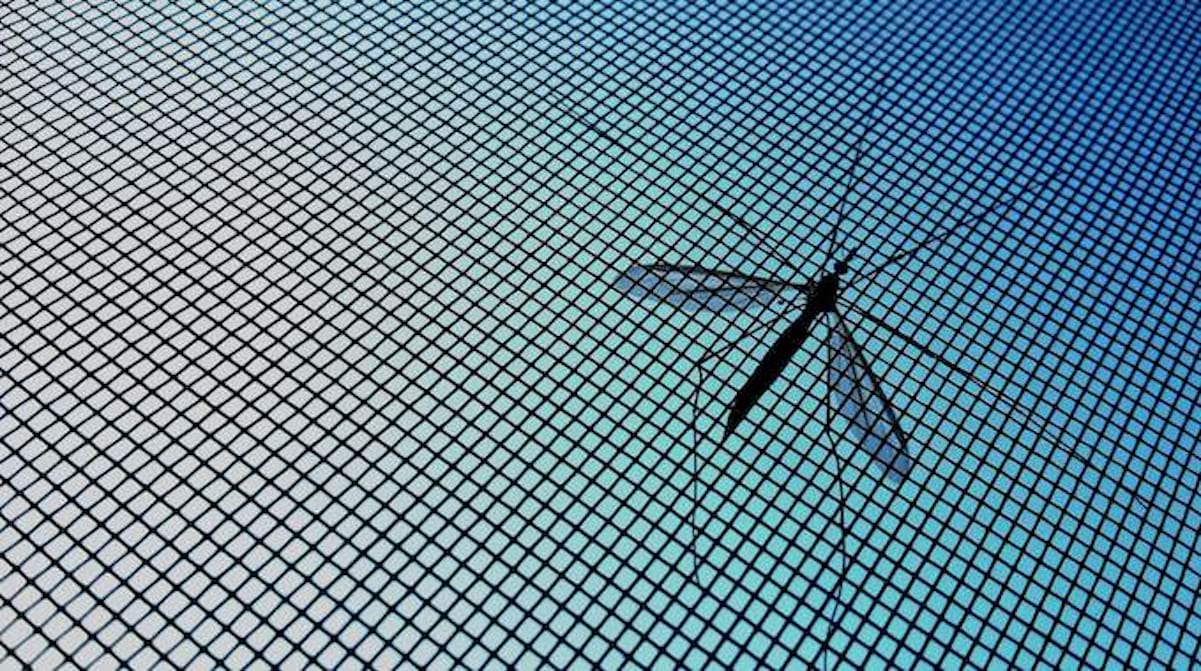
- Screening material: Choose your weapon. Fiberglass is durable and cheap, aluminum is stronger, and pet-resistant is... well, you get it. Think about your lifestyle. (Do you have a cat that thinks your screen is a climbing wall? Then, pet-resistant it is!)
- Screen frame material: Aluminum or wood. Aluminum is easier to work with (bends nicely), but wood looks more...sophisticated? (If you’re into that kind of thing). You'll need enough to trace your arch shape.
- Screen retaining spline and tool: This is the rubbery cord that holds the screen in place. Get a good spline tool, your fingers will thank you.
- Cutting tools: Snips for the screen, a saw for the frame.
- Corner connectors (optional): These are little plastic or metal bits that help you join the frame pieces at the corners. Highly recommended for extra stability.
- Something to trace the arch: A large piece of cardboard, craft paper, or even newsprint will do.
Don't underestimate the power of a good shopping trip. It's all about the thrill of the hunt... for the perfect spline! Okay, maybe not that thrilling. But still necessary.
The Art of the Arch: Creating the Frame
Here's where things get interesting (and potentially frustrating, but stick with me!).

- Trace the arch: Carefully trace the inside of your window frame onto your cardboard. This is your template. Accuracy is key!
- Cut the frame material: Use your template to cut the frame material to the right shape. This might involve bending the material, especially if you're using aluminum. (Be gentle! You don't want to kink it.)
- Assemble the frame: Use corner connectors (if you have them) to join the frame pieces. If not, you can use screws or glue designed for the material you're using. Make sure it's sturdy!
Remember that time you failed miserably at geometry in high school? Well, this is your chance for redemption! Embrace the curves!
Screen Time: Attaching the Mesh
Almost there! Time to put the screen on the frame.

- Lay the screen over the frame: Make sure there's enough overlap on all sides.
- Use the spline tool to press the spline into the groove: This holds the screen in place. Start at one corner and work your way around. (This part can be a bit fiddly, but don't give up! It's like flossing... but with screen.)
- Trim the excess screen: Once the spline is in place, trim away the excess screen with your snips.
Voila! You've created a mosquito net for your arched window! Time to celebrate with a well-deserved glass of wine... preferably indoors, away from the bugs.
The Final Flourish: Installation and Enjoyment
Now, all that's left is to install your masterpiece. How you do this will depend on your window and your screen. Some options include:

- Using clips or brackets: Attach small clips or brackets to the window frame and then slide the screen into place.
- Using magnetic strips: Attach magnetic strips to the window frame and the screen.
- Simply pressure-fitting it: If your screen fits snugly, you might be able to just pressure-fit it into place.
Now, sit back, relax, and enjoy the fresh air without the mosquito bites. You’ve earned it! And you can smugly tell all your friends that you made it yourself. (Bonus points if you make them guess how much it cost you to make it. Hint: it’s way less than a custom-made screen!)
Good luck, and happy screen-making!